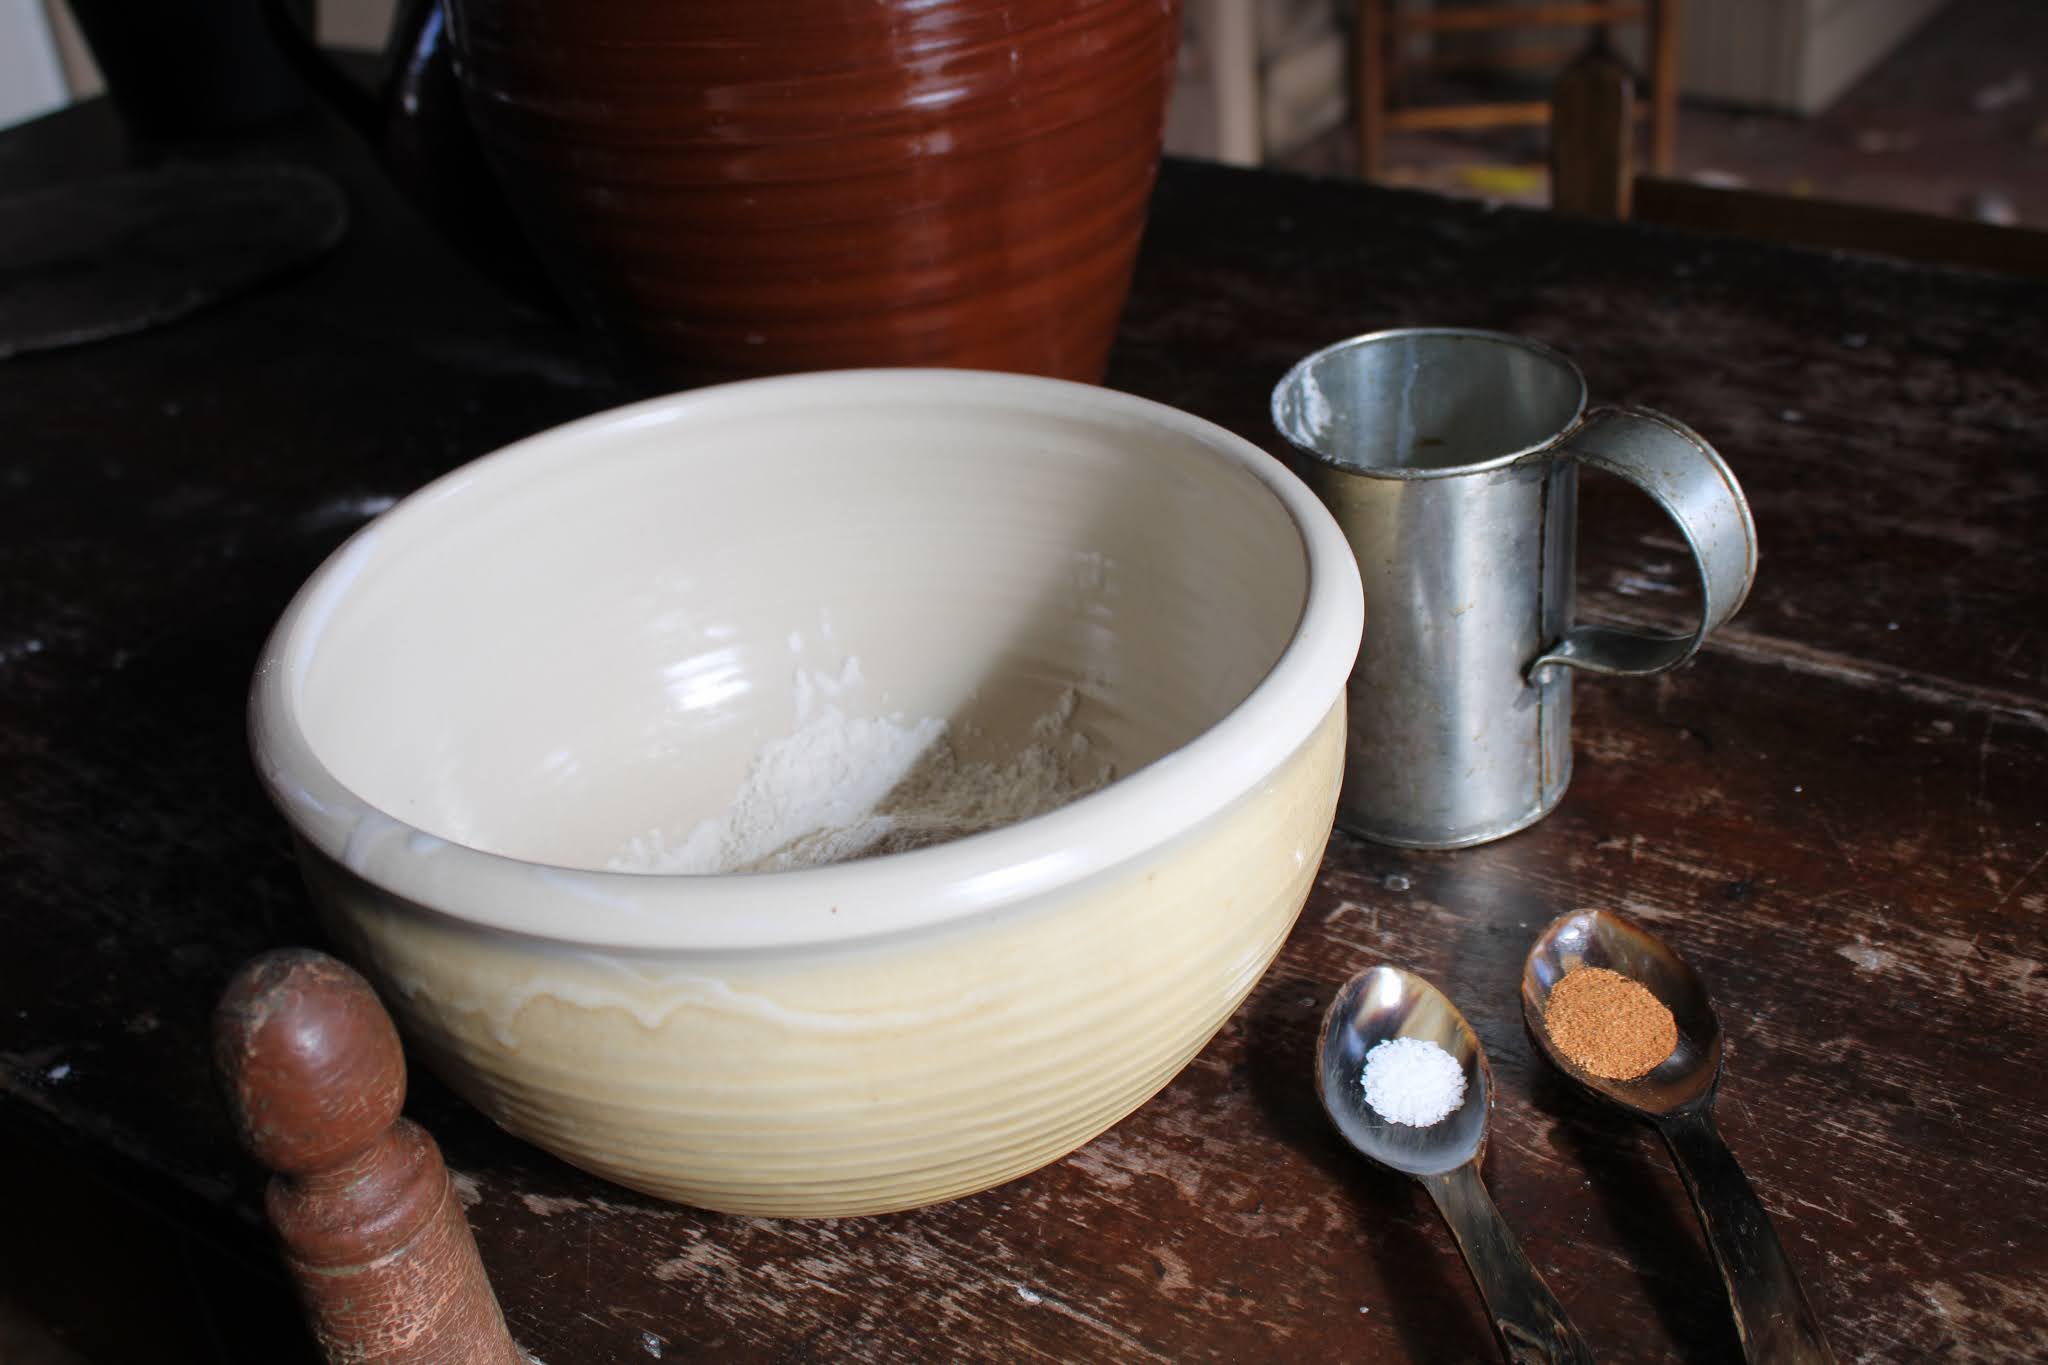
Wednesday, November 25, 2020

A Gingerbread Cake From 1832. Gingerbread Lafayette


A cake with a story! Gingerbread Lafayette is named after General Lafayette, a French military officer who commanded American troops in the American Revolutionary War. George Washington's mother, Mary Ball Washington, served Lafayette this cake when he visited her towards the end of her life in Virginia. The cake has been honorarily named after him ever since. Today's version is from the 1832 book The Cook's Own Book.

Marquis de Lafayette, whom the cake is named after

Lafayette first met Washington on the 5th of August, 1777. They would become close friends.

Recipes for Gingerbread Lafayette have fluctuated between requiring the juice of either lemons or oranges to add a festive kick. As lemons became more popular and accessible in  the19th century they popped up into many cookbooks. The version which we will be cooking today calls for lemons. 

Pearl-ash is optional in this recipe. Today we will cook our cake without pearl-ash for the convince of the modern cook. However if you wish to add pearl-ash this will make the cake softer and delightful. Do not add lemons to your batter as this will make your cake bitter. Dissolve your pearl-ash in vinegar then mix in a teaspoon in your batter as the last step before pouring into your cake pan. 

our cook is softening up half a pound of unsalted butter with her hands

to begin cream together half a pound of soft butter with a little over one cup of brown sugar

once your sugar and butter are mixed well add 2 full cups of molasses. Don't mix yet as we will first add our spices. And there sure are a lot of spices! 

To this bowl let us now add our spices. It shall be quite a lot of spices but fear not in the end it all comes together beautifully. Add 4 tablespoons of powdered ginger, a tablespoon of cinnamon, half a tablespoon of allspice and half a tablespoon of powdered cloves. 

Now that you have added your spices you may mix

Mix well. It should start to look like chocolate pudding by this point. 

In a separate bowl whisk together 5 whole eggs

Mix in HALF of your eggs into your batter. We can not add all of the eggs at once or else it will flood the batter. Set your remaining eggs aside to add later.

The batter is beautifully smooth. We will thicken it up by adding flour. 

Let's add flour to thicken this up. Like with the eggs do not add all of the flour at once. We need to work towards adding a total 5.5 cups. Let's add only 2.25 cups at a time until we have made it to our 5.5 total. After adding the first 2.25 cups mix well then add your remaining eggs. Mix again then finally add the remaining 2.25 cups of flour. Doing this ensures that everything is mixed evenly.

Your batter will now be very thick and difficult to mix. This is a dense cake! The final thing which we will add is the juice and rinds of 2 lemons.


Be careful to pick out any seeds that fall into your batter

Give it one final mix. This is quite the workout! The batter is very thick. 
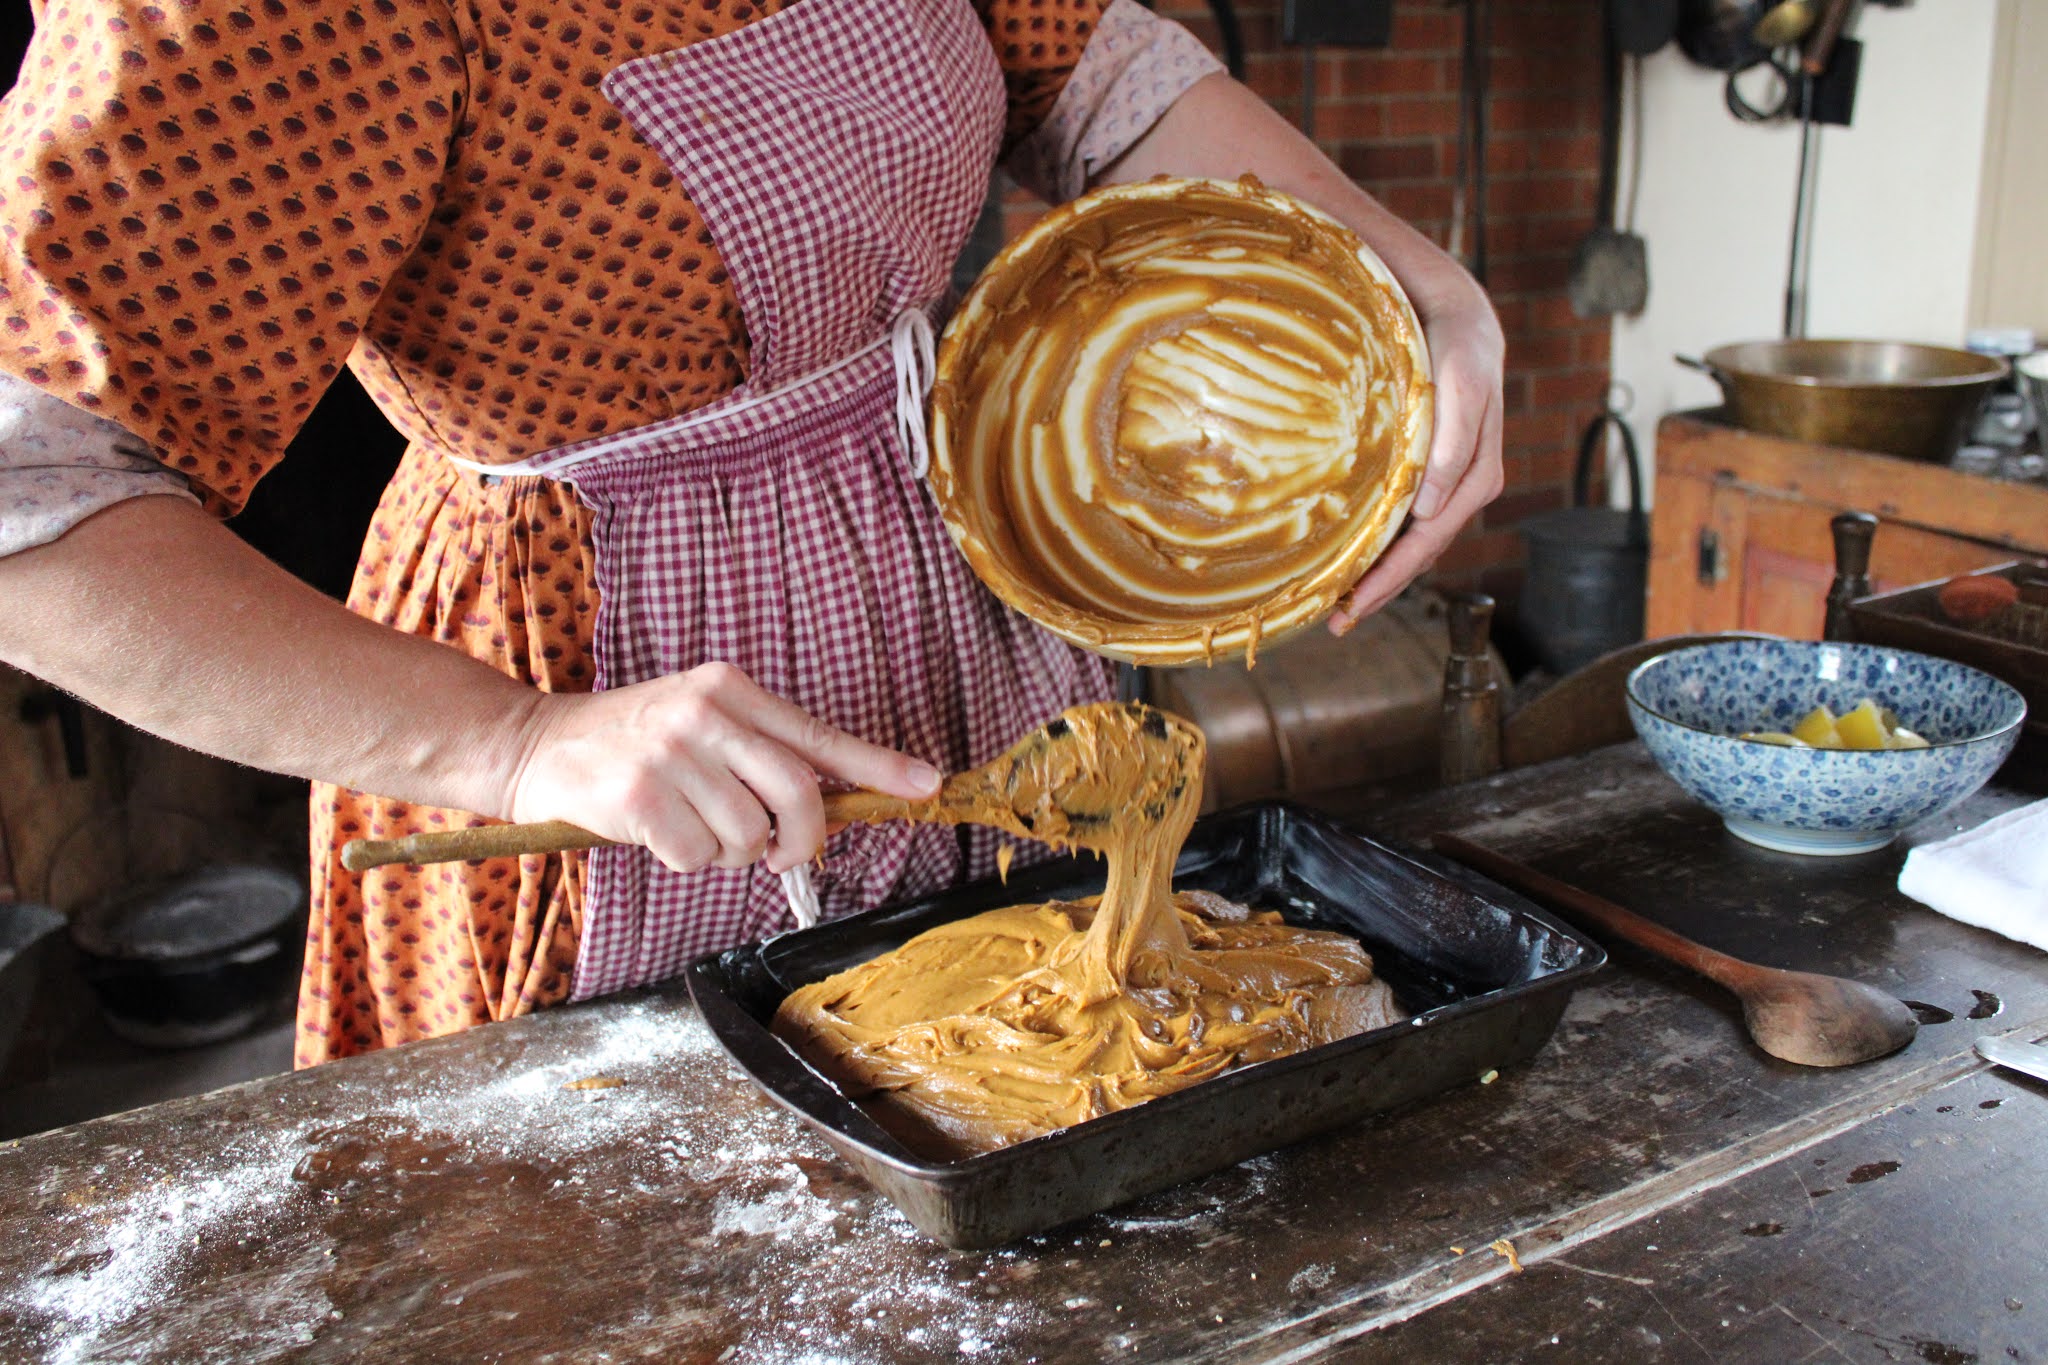
Pour your batter onto a well buttered flat pan. This is a sheet cake. 

It is ready to bake! 

Bake in a 350 degree oven for 50 minutes. The cake should remain slightly soft to the touch once you remove it as gingerbread tends to harden post baking. We put ours inside of our wall oven along with gingerbread cookies from another recipe.

50 minutes later and our cake is done! Let's just let it sit for at least 10 minutes before we cut into it. 

Cut into squares and serve with cream. Enjoy!

If the above Youtube video dos not work follow this link:


Ingredients:

five whole eggs
a little over 1 cup of brown sugar, packed
half a pound of butter, softened
2 cups of molasses
5.5 cups of all-purpose flour
4 tablespoons of ginger
1 tablespoon of cinnamon 
half a tablespoon of allspice
half a tablespoon of clove
juice & peel of two lemons


Directions:


Cream softened butter and sugar. You may do this either by rubbing the two together with your hands or using an electric mixer. Pour the molasses into the creamed sugar. Add your spices and mix your batter. It should look like chocolate pudding. Beat 5 whole eggs in a separate bowl. Put in half of your eggs and stir. Now put in half of your flour (2.25 cups) and stir. Add the other half of your eggs and stir. Finally add the remaining flour and stir. Once your batter is properly mixed add the juice and rinds of 2 lemons and stir. Your batter will now be very thick. Butter a pan and bake for 50 minutes. Allow to cool for at least 10 minutes before cutting into squares. Serve with cream.


Monday, November 23, 2020

Pork Steak with Creamy Mushrooms, 1807


Let's combine two recipes from the same book to make an amazing meal! Today's delicacies come from A New System of Domestic Cookery by Maria Rundell. Personally I love the flavor of mushrooms and am confidant that any fellow culinary mushroom enthusiast will find this dish agreeable. 


For this dish we will use pork steaks. Do not use pork chops as that is a different cur entirely. You may use whatever quantity of mushrooms or steak that you'd like depending on how many hungry mouths you must satisfy. 

Rub black pepper onto your steaks. Rub this on both sides. 

We will grill these. I have had a fire going for a while now to gather hot coals for this purpose. 

If using your hearth allow a fire to burn until only coals remain. Then place your iron grill over the hot coals. These will cook fast so stay close and flip frequently. When your steaks are nearly done rub butter over them and sprinkle salt. Mine took 10 minutes total to be cooked. 

Done! They look and smell amazing. I can hardly resist eating them now but we have to prepare our mushrooms. 

Wipe clean your mushrooms then cut into pieces. 

Melt a heaping tablespoon of butter onto your hot pan. If you are cooking more mushrooms then I am add more butter. If less then add less. 

Add your mushrooms and cook, stirring frequently. 

once softened, add salt and a few tablespoons of cream. Add a teaspoon of flour to thicken. Mix and continue to cook. 

Once your mushrooms are creamy remove from your heat. Your meal is now done and you may enjoy right away! I know that I sure did. 

If the above Youtube video does not work follow this link:


Ingredients: 

Pork steaks 
button mushrooms
salt
pepper
cream or heavy whipping cream
butter

Directions: 

pork steaks: rub black pepper onto both sides of your steaks. Grill, being sure to flip halfway through cooking. Once your steaks are nearly done rub melted on them and sprinkle salt to taste. 

Stewed mushrooms: clean and cut up your desired quantity of butter mushrooms. On a hot pan melt a heaping tablespoon of butter then add your mushrooms. Stir frequently until soft. Once soft add salt to taste and several spoonful's of cream. Finally add a teaspoon of flour to thicken. Stir and continue to cook for 5 minutes until creamy. 


Thursday, November 19, 2020

1807 Sausages with Red Cabbage


Today's simple yet delicious recipe is brought to us by the 1807 cookbook A New System of Domestic Cookery by Maria Ketelby. This is a fantastic recipe book which is easy to follow and is full of economic dishes. The preparation for today's dish is both of those, simple and economical. It is an especially popular dish during the Fall season when cabbage is plentiful. 


As you can see, stewed red cabbages can be served with either cold cuts or sausages. I found sausages to pair nicely and that is what we shall thus prepare. 

Firstly we shall cut up either one small red cabbage or half of a large one. 

Cut your cabbage into strips.

Once your cabbage has been cut into strips melt a tablespoon of butter on a hot pan then add your cabbage. Allow to cook for 10 minutes on medium heat while stirring frequently.

Once your cabbage has softened after 10 minutes add a generous spoonful of salt and pepper to taste and stir well. Then add two tablespoons worth of vinegar. You may use either white vinegar or apple cyder vinegar. Mix again and allow to cook for another 10 minutes.
 
Once your cabbage is done remove from your heat and place onto the bottom of a fine dish.

Now we shall shift our attention to preparing the sausages. You may cook them at the same time as you are cooking your cabbage in a separate pan or you may reuse the pan once your cabbage is done. I am using bratwursts for this dish. You may use whatever form of sausages that you prefer.

Fry the sausages with a teaspoon of butter until done. 

Now that the sausages are cooked place over your cabbage. It is ready to be served! 


If the above Youtube video does not work follow this link: 


Ingredients: 

Red cabbage: one small or half of a large one
Sausages (I recommend bratwursts): three to five depending on size 
Salt: one teaspoon 
Pepper: one teaspoon 
Butter: 1.5 tablespoons 
Vinegar: 2 tablespoons


Directions: 

Cut your cabbage into strips and sauté for 10 minutes until soft. Add a generous amount of salt and pepper to taste along with two tablespoons of vinegar. Sauté for an additional 10 minutes until done. Remove your cabbage from your heat and place on the bottom of a plate. Fry your sausages in a teaspoon of butter until cooked thoroughly. Remove them from your heat and plate over your cooked cabbage. 


Friday, November 13, 2020

Baking a Fantastic Apple Pudding From 1832. Have You Ever Tried Applesauce Pie?


Warm apples, nutmeg and cinnamon. What more of a perfect combination could one have for a chilly fall day? This recipe is certainly a keeper and it could be a unique new tradition in your family. If I could describe the flavor and texture it is what I'd call a spiced applesauce pie! 

Due to the filling's consistency it is labeled as a pudding in the 1832 publication Seventy Five Receipts for Pastry Cakes & Sweetmeats. Published in Philadelphia by a lady simply known as Miss Leslie, this cookbook was marketed towards those of the common classes especially those who lived in rural areas who were unable to buy ready-made pastries. The book is remarkably easy to follow.

For the crust I decided to use my go-to recipe which I have seen repeated multiple times in cookbooks ranging from the 18th century to the 19th. I also spotted this exact recipe for today's crust in another 1830s cookbook. It is a basic and affordable formulation of butter, flour and water. 


We may start by stewing our apples. Take 4-5 large apples then peel the skins and cut from the cores. Put into a pot and cover with water till the apples are 80% covered. You do not need to fully submerge the apples in water. Miss Leslie's instructions for stewing the apples are quite vague spice wise as it is certainly a good idea to spice your apples as they cook. You may add whatever you wish however I went with a classic mixture of a teaspoon of cinnamon and a teaspoon of sugar. Stir your spices into your apple and water mixture then let simmer until your apples are very soft. We want the apples to be soft enough so that we may easily mash them using only a spoon. This will take at least 30 minutes. 

While your apples simmer let us begin working on the crust. Take 1/4 of a pound of cold butter and mix it into 1.5 cups of all-purpose flour. Add cold water a spoonful at a time until all of this mixture is incorporated. Be sure not to add too much water or the dough will be sticky. Spread more flour onto your work surface and using a rolling pin flatten your dough until it may evenly cover your baking pan.

Remember to be sure that your dough is not sticky. This is why we will only add one spoonful of cold water at a time to ensure that we do not overdue it. If you do, however, add more flour till dry. 

Now that your dough is rolled out spread it over your desired baking pan. I recommend crimping the edges using the end of a butter knife. This little trick I picked up from a recommendation in the same cookbook that we are using for this apple pudding. Poke holes in the bottom of the crust to allow ventilation.

Once your crust is to your liking bake in a moderate oven for 20 minutes. This will prevent the crust from becoming soggy once we add the apple filling. The crust should remain off-white and should not be browned. Once done remove from your heat and set aside. 

Check to see if your stewed apples are soft enough to easily mush with a spoon. If so all of the water should be absorbed by now. If any remains drain off the rest in a colander. 

Mush your stewed apples with the back of a spoon

Now to improve this we shall add a teaspoon of ground nutmeg, a dash of rose water, 1/4 of a cup of powdered sugar and the rind from one lemon. Mix well. 

In a separate bowl cream together another 1/4 cup of powdered sugar with 2 oz of softened unsalted butter. You may achieve this by kneading and rubbing the butter in with the sugar similarly to dealing with bread dough. Once incorporated add this mixture to your stewed apples. It is ok if you notice chunks of butter throughout. This will melt once we bake it. 
 
Spread your mixture evenly into your pie shell. We are now ready to bake it! 

Place it inside of a moderate 350 degree oven and bake for 40 minutes. Once done the apples should have slightly browned however do not let the crust brown. If this happens it is overcooked. 

Once done allow to sit for at least 10 minutes before cutting into it. The filling has the consistency of a dense applesauce and the flavor of a floral applesauce as well due to the rose water and lemon rind. This dish will please both adults and children alike. 


If the above Youtube video does not work follow this link: 


Ingredients:

For The Crust: 

All-purpose flour: 1.5 cups plus a little extra for dusting your work surface 
Unsalted butter: 1/4 of a pound, cold 
Cold Water: roughly a quarter of a cup

For The Filling: 

Apples: 4-5, large 
Cinnamon: one teaspoon, ground 
Granulated sugar or raw sugar: one teaspoon 
Unsalted butter: 2 oz, softened
Powdered sugar: 1/2 of a cup 
Nutmeg: one teaspoon, ground 
Lemon rind: the rind of one lemon
Rose water: 3 tablespoons 


Directions: 
 
For The Crust: 

Cube and mix your cold butter with your flour until the butter forms pearl-like balls throughout the dough. Add cold water slowly, one spoon at a time, until the butter and flour have formed a dough. Be sure not to add too much water as we don't want this dough to be sticky. If you accidently add too much water add a spoonful of flour and if your dough is too dry add another spoonful of water. Lightly flour your worksurface and roll out the dough using a rolling pin. Once it is to your desired size spread out onto a pie pan and crimp the edges (I recommend doing so using the end of a butter knife). Poke holes throughout the bottom of the crust to allow ventilation when cooking. Bake in a 350 degree oven for 20 minutes. The crust should remain off-white once done, but should be firmer to the touch than when raw. Set aside. 

For The Filling: 

Remove the skin from 4-5 large apples and cut into wedges. Place your apples inside of a pot and cover with water until 80% covered. You do not need to fully submerge the apples. Into this mix in your cinnamon and granulated sugar. Place this on medium heat on your stovetop and cook until your apples are soft enough to mush with the back of a spoon. This could take at least half an hour. Once done test with a spoon. Remove from your heat and drain any extra water if there is any. Place into a dish and stir in a lemon's rind, rosewater, nutmeg and 1/4 cup of powdered sugar. In another, smaller bowl cream together your butter and remaining 1/4 cup of powdered sugar. You may use your hands to do this by massaging the two together until incorporated. Once done mix your butter into the apples. It is ok to have small chunks of butter throughout your mixture as this will melt while cooking. Pour into your crust covered pie pan and bake in a 350 degree oven for 40 minutes. Once done your crust should only be slightly darker yet should still maintain an off-white color. If your crust has browned it is overdone. Allow to cool for 10 minutes before cutting and serving.    


Monday, November 9, 2020

Pancakes as Prepared in 1802


The Art of Cookery: Made Easy & Refined was first published in 1802 by John Mollard. It is an excellent resource for preparing pastries and meats especially. The author was a well regarded cook in his day and made it known in his publication that he was one of the owners of the famous Freemason's Tavern which fed numerous notable individuals and organizations since 1775. John Mollard published his book The Art of Cookery in London however this recipe is common for the period among Englishmen and Americans alike.

The Freemason's Tavern as pictured in 1800

We will be preparing a simple breakfast dish which had been popular from the time of the Ancient Romans. These pancakes are noticeably unsweet which is great for those who are sensitive to sweet tastes. In fact, sugar is not a part of the batter at all! The option is given instead to sprinkle sugar (or in my case, cinnamon) on top. You may also spread your favorite fruit preserves over them.

This preparation is suitable for around 10 thin pancakes. I would recommend this serving for one individual. If you are seeking to prepare your pancakes for the mouths of two or three simply double or triple your ingredients. 

Pour 1.75 cups of all-purpose flour into your mixing bowl. 

To this flour add a teaspoon of nutmeg and a generous pinch of salt. Also add a dash of either cream or whole milk. Reduced fat milk wool work also but cream is best. 

In a separate bowl whisk together 8 whole eggs.

Now we shall incorporate this egg mixture into our batter. Pour the eggs into your batter and stir well.

Mix until everything is well incorporated. 

Meanwhile, melt a tablespoon of butter onto your skillet. This will prevent the pancakes from sticking.

Now that your batter is well mixed and your skillet is hot with melted butter pour one heaping spoonful at a time and watch carefully. These cook fast. If you have a mold pour your batter into it, otherwise do not worry about the shape of your pancakes. We can trim them later. Over a hot fire only a few minutes per side is necessary. Flip them halfway through to brown both sides. 

This batter tends to run. Once your pancakes are done you may trim off unsightly edges with a knife to create an appealing round shape. Cover with cinnamon, sugar or a mixture of these two. Fruit preserves are also a smart choice. 


If the above Youtube video does not work follow this link:
 https://www.youtube.com/watch?v=L-xd03MnAvI&feature=youtu.be


Ingredients:


All purpose flour: 1.75 cups
Salt: a generous pinch
Grated nutmeg: a teaspoon 
Eggs: 8 whole eggs
Cream or Milk: 5 tablespoons 
Unsalted butter: one tablespoon

Directions: 

Mix your salt and nutmeg to 1.75 cups of flour. In a separate bowl whisk together 8 whole eggs. Combine your wet ingredients with your dry and mix well until incorporated. Melt your butter on a hot skillet to prevent your pancakes from sticking. Add your batter one large dollop at a time to form one pancake. Cook on each side for 3 minutes until browned. Remove your done pancake from your skillet and repeat until your batter is all used. Spread cinnamon, sugar or a mixture of the two on top of each pancake. You may use fruit preserves instead. 
 

Dough Nuts aka Donuts From 1803

  Why do modern donuts have a circle in the center while these do not? Ring shaped donuts did not hit the market until the 1840s. A problem ...