Saturday, January 23, 2021

1803 Breakfast Cakes


Cake for breakfast? Why not. In fact in the early 19th century cakes and other pastries were the norm at breakfast tables. Sometimes these cakes were in the form of puffy biscuits, as is the case with today's recipe. This is another economical dish that hails from the 1803 publication The Frugal Housewife by Susannah Carter. 

This recipe can be baked with or without pearlash. I baked them without it. The instructions are quite vague, leaving a lot of room for interpretation as to how much sugar and other flavorings to add, if any. I decided to add two tablespoons of sugar, one tablespoon of cinnamon and a dash of nutmeg. If you want for these cakes to be sweet you may add 4-5 tablespoons of sugar.

to begin we will need 2 cups of all-purpose flour and half a stick of cold, unsalted butter (1/4 cup)

Using your hands or a pastry blender, cut the cold butter into your flour until it is well incorporated. Once small beads of butter form throughout the flour that is when it is ready for our next step. 

Now we may add our (optional) flavorings. I went with one tablespoon of ground cinnamon and a dash of nutmeg. You may use whatever you want, however. Roasted caraway seeds and diced dry fruit may also be used. I added two tablespoons of sugar. If you want your cakes to be quite sweet go with 4-5. Mine were mild which made them an excellent dish to pair with jam or honey.  

Besides my hearth I am warning up enough milk to form a dough. I ended up using 1 full cup of milk. Because this recipe requires yeast it is a good idea to add warm milk instead of cold.

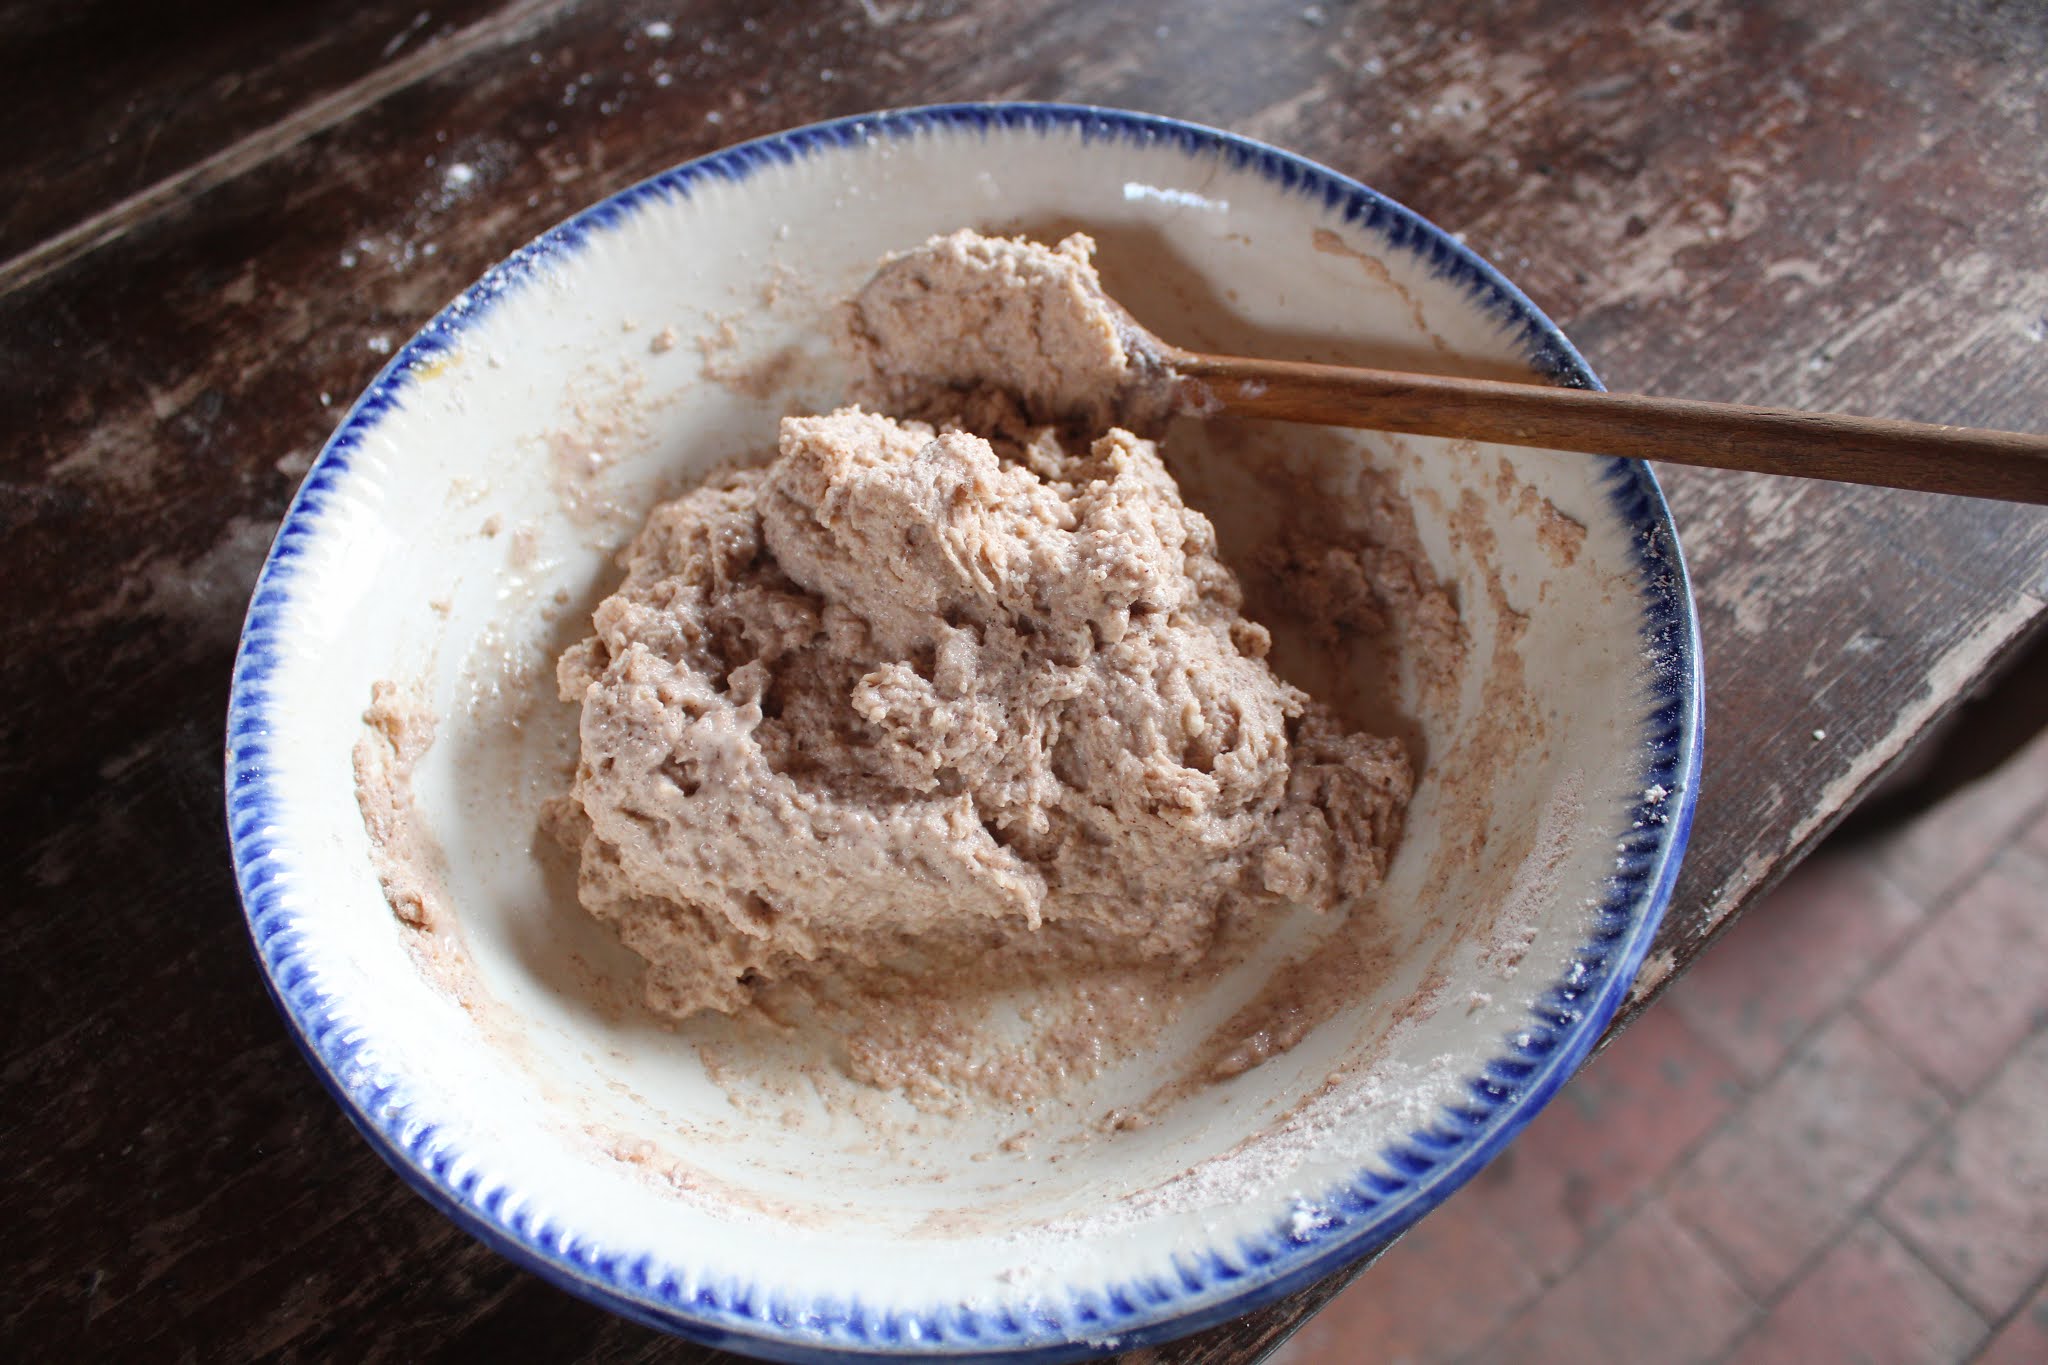
Add a tablespoon of active yeast then pour in your warm milk. Mix until you have formed a dough. For the sake of modern kitchens we are using dry active yeast here. Kitchens of my time would have required to grow their own yeasts at home. 

Because this dish involves yeast we shall allow for it to sit for an hour before we move further. If you are short on time you may get away with 40 minutes. 

While we wait may I introduce myself? My name is Justine Dorn and it is a pleasure to be your cook.

Once your dough has risen take small bits of it at a time and form into biscuits with your hands. Flour your hands so that they may not stick. You may shape them however you wish. Once you place them on a cookie sheet prick holes in them. I did so with a fork. 

Bake in a 350 degree oven for 15-20 minutes. These will puff up slightly, bearing the texture resemblance to little cakes. Their color will not change. Allow to sit for 5 minutes before enjoying.

I enjoyed these with honey. You may eat them with jam or as they are. Their soft texture is delightful!


If the above YouTube video does not work follow this link: 


Recipe: 

2 cups of flour
half a stick of unsalted butter (1/4 cup)
1 heaping tablespoon of active dry yeast
1 cup of milk (any will do. Whole milk is best)
2-5 tablespoons of sugar depending on preference
*optional flavorings. I used a pinch of nutmeg and a tablespoon of ground cinnamon. Other ideas are dried fruits such as cranberries, blueberries or roasted caraway seeds. 


Directions:

Cut your cold butter into 2 cups of flour using either your hands or a pastry blender. Once the butter has formed small pearls throughout the dough it is ready. Add 1 heaping tablespoon of active dry yeast, your sugar and optional flavorings. Pour in 1 cup of warm milk and mix until you have formed a dough. Set this dough aside in a warm place for one hour to rise. If you are short on time 40 minutes will suffice. Flour your hands and tear off small chunks of the dough. Form biscuits in whatever shape you desire and place onto a cookie sheet. Prick holes into them using a fork. Bake in a 350 degree oven for 15-20 minutes. Once the bottoms of your cakes are dry, or mostly dry they are done. Allow to sit for 5 minutes before enjoying. I ate mine with honey. Jam would also pair nicely with these. Enjoy!


Monday, January 18, 2021

An Illinois Bread Recipe That Dates Back to the 1750s


 This is an 18th century U.S. recipe for bread from Illinois (Kaskaskia). The recipe has been kept in one family since the 1750s. It is very economical and is simple to make. It is so simple that it was no doubt still popular in the early 19th century as well. It was very normal for a lot of early to mid 18th century recipes to still be popular even up till the 1840s.

This recipe was gifted to the 1820 Benjamin Stephenson House by the family whom it originated from. It has been kept in their family since the 1750s when their French-speaking ancestors moved to Kaskaskia. There was a large French population in Kaskaskia, as well as in St Louis, during this period.

I have baked this bread half a dozen times now and it has never failed me once. It is incredibly easy to bake and I am not surprised why it has been a go-to since the 1750s! Let us begin.


In a bowl combine 3 cups of all-purpose flour with 1 heaping tablespoon of active dry yeast. Pour in 1.5 cups of warm (not scalding hot but be sure that it's warm) water and a large dollop of honey. You may use molasses instead of honey. For this recipe today I used honey. Do not use sugar as the honey or molasses will also keep the bread moist. That is it. Flour, yeast, honey, water.

mix until you have formed a dough 

Now let us put our dough in a warm place to rise for one hour. I have placed mine several feet away from my hearth. Any warm kitchen will do. If you are unsure if your house is warm enough you may cover the bowl with towels or even a jacket. 

After one hour the dough has expanded and is ready to be kneaded. To knead your dough place it on a well floured surface, coat the surface or your hands with a bit more flour then roll your dough a little bit over and over until the dough is no longer sticky. 

After kneading shape as desired and place onto a pan. You do not need to butter the pan as long as it is a non-stick pan. 

Bake in a 350 degree oven for 30-40 minutes. Once the top is a golden brown it is done. If you are baking using a dutch oven as I am be sure to rotate it every 10 minutes so that one side does not burn.

35 minutes later and we have beautiful bread. Wait for 30 minutes before handling and slicing. 


If the above YouTube video does not work click this link: 


Recipe: 

3 cups of all-purpose flour 

1-1.5 cups of warm water

1-2 tablespoons of honey or 1 tablespoon of molasses

1 heaping tablespoon of dry, active yeast


Directions: 

 Combine 3 cups of flour with 1 tablespoon of yeast in a bowl. Pour in 1 to 1.5 cups of warm water. Be sure that the water is not boiling hot. We only need for the water to be steaming, not boiling. Add your sweetener whether that is honey or molasses and mix until you have formed a ball of dough. Set your bowl aside in a warm room to rise for one hour. You may cover your bowl with a towel or even a jacket to keep it warm. After one hour remove your dough onto a well-floured work surface and knead with floured hands until your dough is no longer sticky. Shape as desired and place onto a cooking pan. Bake in a 350 degree oven for 30-40 minutes until golden brown as shown in my photos. 


Dough Nuts aka Donuts From 1803

  Why do modern donuts have a circle in the center while these do not? Ring shaped donuts did not hit the market until the 1840s. A problem ...