Thursday, October 29, 2020

1828 Funeral Cookies


Funeral cookies, also called funeral biscuits, were handed out at wakes to friends and family of the dead. Those who were visiting to show their respects could enjoy these biscuits while also possibly enjoying a funeral cake and other traditional funeral confectionaries. The tradition of funeral cookies persisted from the 17th century until the early 20th century. These cookies would be stamped with different designs depending on the country. In North America designs of hearts, cherubs, an hourglass or a skull were the norm.   

Today we shall bake these cookies using directions from The New Whole Art of Confectionary by W.S. Staveley. While there are many funeral cookie recipes from the early 19th century, this one is especially simple and you will find it of no trouble to prepare. 


The New Whole Art of Confectionary's directions are for a large preparation of cookies. This would have been enough to feed visiting family and friends. Today we will be baking a smaller quantity for demonstration purposes. 

While not mentioned in this particular recipe caraway seeds are very commonly included in funeral cookies. Thus, I recommend adding a tablespoon though it is up to you. They add a delightful flavor. If you choose to add them toast them over your heat until they darken in color. 

While your caraway seeds are toasting gather 3 eggs, 1 cup of white or raw sugar and 2.5 cups of flour

Firstly mix your flour and sugar together then add 3 whole eggs. Your dough will be a pleasant yellow color due to the egg yolks. 

Once your caraway seeds are toasted add them to your batter and mix well. 

As your mix your batter if you notice that it is too sticky add a spoonful of flour until it becomes manageable for rolling out.

Roll your dough out on a well floured surface. Again, if it is too sticky add flour till manageable. We will now use our stamps to cut out beautiful designs. 

These particular stamps are made of clay however you may also find ones of wood. 

Hammer your stamps into the rolled out dough. You will need to use your fist to stomp them down. Do not be afraid to use some force. It is necessary to create a clear stamped image. 

Once stamped cut out into either squares or circles depending on your preference and place them on a baking sheet. 

Today I will be using my reflector oven to bake these funeral cookies however you may also bake them in a Dutch oven or a wall oven. 

Be sure to check on them often as they don't require long to bake. 

Our cookies are done! Once finished they should remain white or off white. 


If the above Youtube video does not work click this link:


Ingredients: 

Caraway seeds: one tablespoon (highly recommended) 
all-purpose flour: 2.5 cups 
white or raw sugar: 1.5 cups 
eggs: 3 eggs


Directions

Place your caraway seeds on a pan without oil and toast until they darken in color. This should not take more than 5 minutes at medium heat. Remove from heat. Combine your flour and sugar then add three whole eggs. Finally stir in your toasted caraway seeds. If your dough is too sticky add a spoonful of flour at a time until it becomes workable and suited for rolling out. On a well floured surface roll out your dough, again adding flour if needed. Stamp out designs into the dough by stomping down a mold. Cut your cookies out into either squares or circles and place onto a cooking sheet. Bake at 350 degrees for 20-30 minutes until the bottoms are no longer sticky.  

Monday, October 26, 2020

1830 Mashed Potatoes & Parsnips


Mashed potatoes with parsnips is a rather simple side dish that can be enjoyed by those of all classes. I discovered this economical recipe in the bestseller The Cook's Oracle; And Housekeeper's Manual. The author, William Kitchiner, was a bit of a renaissance man having spread his talents across a number of fields. His primary means of employment was as an optician however he also dabbled in the patenting of new telescopes. He was also an amateur musician and an excellent cook. While The Cook's Oracle was first written in 1822 I am using an 1830 edition for reference. 

William Kitchiner (1775-1827)


Here we are instructed to prepare the parsnips similarly to carrots by splitting them down the middle and boiling. Also, in order to reduce the carrot-like sweetness from the parsnips we may mix in mashed potatoes. 

Begin by gathering your desired parsnips and potatoes. I recommend having more potatoes than parsnips. This will help to cut out the natural sweetness from the parsnips. Personally, I prefer my mashed potatoes to have the skin so I retained it however if you wish to have a skinless mash feel free to peel off the potato and parsnip skins at this point. 

Split your potatoes and parsnips down the center for faster cooking times.

Cover your vegetables with water. 

Hang the pot over your fire. Parsnips need extra time to soften so it may take around an hour in a gentle boil for your vegetables to be ready for mashing. 

Once your vegetables are soft mash as you normally would with mashed potatoes. As you beat it, add salt to taste and a generous tablespoon of softened butter. 

Plate and enjoy. 


If the above YT video does not work for you click the following link: 


Ingredients: 

Mashed Potatoes & Parsnips: 

Potatoes: 5 

Parsnips: 2-3

Butter: one tablespoon, softened

Salt: one teaspoon

Directions: 

Split your potatoes and parsnips down the center then boil in water for an hour or until very soft. Mash together as you would regular mashed potatoes. Add salt and butter to taste. Plate and serve. 

Sunday, October 25, 2020

Baking A Beef Steak Pie From 1824...With An Unusual Crust


Today's supper comes from the recipe book The Virginia House-Wife by Mary Randolph. The Virginia House-Wife, or The Methodical Cook, was one of the best selling cookbooks of its age and ensured Mary her stardom. 

Mary Randolph (1762-1828) 

While the majority of Mary's recipes seem sure to satisfy, one stood out to me for its absurd ingredients. That being the crust enough to make one savory pie top and bottom. Her directions are quite simple, simply combine butter, water and flour. However, the quantity of butter is what makes this crust formidable. Mary directs us to add one pound of butter into the dough. That is correct. One pound of butter in just one moderately sized crust. Formidable I'd say. Of course, I had to try it. Though skeptical one needs to have an open mind as well.


I borrowed three recipes from the same book to make this steak pie. Mary's gravy recipe, steak pie and  savory crust.  

Firstly, let us start by preparing the gravy. It will need to simmer for at least an hour so it is best to get this started first. 
   
Lay several pieces of bacon on the bottom of a sauce pan. 3-5 will do nicely. Next add in chopped celery, carrots, a turnip and a diced onion. You may also add a tablespoon or two of chopped up beef steak if you desire a stronger flavor. With or without the gravy is fantastic. 

For seasonings sprinkle in thyme and a generous tablespoon of allspice. 

Cover this with water till just the vegetables are submerged then hang over your fire. 


Now we shall prepare what makes this dish so unique. Gather 4 cups of flour, setting half a cup aside for flouring your work surface. Mix enough cold water into this flour to make a thick paste. Now add one quarter pound of softened butter at a time until you have incorporated an entire pound.

 I found the dough to be unusually sticky and delicate for a pie crust, possibly explaining why Mary recommends being gentle when touching the dough. Roll out the dough using both a rolling pin and your your hands to flatten it. Be careful as this dough is particularly delicate and prone to cracking. Roll out only enough dough to make the bottom crust. Set aside your remaining dough for the top crust which we will make later. 

Once it is to your liking spread it onto the bottom of a baking tin and place it inside of your oven to cook until the pastry has slightly puffed up and the butter has been at melting for at least 5 minutes. Remove and set aside to cool. Watch it carefully as you do not want it to burn. You only need to cook the lower crust in this manner. Save your remaining dough for the upper crust which we will prepare later. 

Now that your gravy is on the fire and your bottom crust is baking let us focus on the filling. This is a beef based pie so you will need cuts of steak that suite your preference. However, Mary also recommends sprinkling pork into the pie's filling. She recommends adding boiled ham. Since I used bacon in the gravy I found it economical to use the remainder of my bacon in the pie however if you have ham all the better add it. I trimmed off the excess fat from the bacon. Ensure that your meat is cut up into manageable pieces. 

Set your meat onto your fire and cook till the meat is half done. 

If an hour has passed since you set your gravy on your flame remove it and strain all of the contents, leaving behind only the broth. Now add a tablespoon of flour and set again onto your fire. This will help to thicken up the gravy. 

Our meat is cooking away now. Be sure to check if your bottom crust is done. 

Once your meat is half cooked remove from the flame and set aside.

Your bottom crust should be ready by now. It is expected to find a layer of bubbling butter on top. Once you set it to cool the butter wool reabsorb. As you can see it has only browned slightly.

Add an even layer of your half-cooked meat onto the crust.

Once your gravy has thickened over the fire (should not take more than 5 minutes) pour it over the meat.

Finally we may add the top crust. Be sure to cut a hole in the top center to let steam escape. 

Bake with a healthy fire for around half an hour. The crust will not brown. It is certainly a strange crust which is good for curiosity seekers but I would recommend a dozen crusts over this one. The filling however is divine. The gravy recipe is a keeper and is among the best gravies that you can make.


If the above YT video link does not work for you click this link: 


Ingredients


Crust: 

Butter: one pound, unsalted (usually amounts to 4 sticks) 

All-purpose flour: four cups 

Cold water: half a cup

Filling: 

Beef steak: one pound

Bacon or ham: half a pound


Gravy: 

bacon: 3-5 strips 

beef steak: two tablespoons if desired

carrots: three large

turnips: one regular 

onion: one large

celery: 5 stalks 

all-purpose flour: one tablespoon

thyme: one teaspoon 

allspice: one tablespoon  


Directions: 


Gravy: Lay your bacon on the bottom of a pot. Toss over it diced carrots, turnip, celery and extra beef steak if desired. For spices add a teaspoon of thyme and a tablespoon of allspice. Cover with water just high enough to cover your vegetables. Put on your stove on medium-low heat for one hour. Once an hour has passed strain your solids from the broth and return the broth to the stove. Stir in a tablespoon of flour and let sit on a low flame for 5 minutes to thicken. 

Crust: Add 3.5 cups of flour into a mixing bowl, setting half a cup of flour aside for later rolling the dough. To this add half a cup of cold water and stir. This should create a thick paste. Now add one stick of butter at a time till you have added four sticks, or one pound. Divide this dough into two even portions, one for the top and the other for the bottom crust. Gently roll out the bottom crust dough and place into a tin. Bake for 10 mins in a 300 degree oven. Set out to cool. You do not need to pre-bake the top crust. 

Meat filling: Combine one pound of your choice of beef steak with half a pound of either lean bacon of ham. Cook on your stovetop till the meat is half done then remove from the heat and set aside. 

To combine: Place your half-cooked meat into the baked bottom pie crust. Pour your gravy on top. Try to make this as even as possible. Roll out your top layer of crust and press it on top. Cut a small hole on the top to allow for steam from the gravy to escape. Bake in a 350 degree oven for 20-25 minutes.   

Saturday, October 24, 2020

Baking a 1796 Pound Cake with Lemon icing


Today's dessert comes from a 1796 recipe for pound cake with lemon icing from the same book.


American Cookery by Amelia Simmons is a relatively easy book to follow and consists of recipes varying from roast meats to puddings and preserves. Her directions for pound cake go as follows: 

Pound Cake.

"One pound sugar, one pound butter, one pound flour, one pound or ten eggs, rose water one gill, spices to your taste; watch it well, it will bake in a slow oven in 15 minutes."


This is a very rich cake which requires one pound of butter and ten eggs. If you have a good dairy cow you will put her to great use for this cake. It may taste unlike any pound cake that you have previously tried due to its exquisite richness and thickness. Due to the large amount of eggs this cake also takes on an almost custard-like flavor. 

The icing (which is originally called "lemon cream" in American Cookery) has an agreeable lemonade flavor. This cream can be thickened by placing it in a cool cellar or ice box however I skipped this in order to render the icing less thick. If desired you may eat the icing alone in china dishes. The directions for this lemon icing/cream are as follow: 

Lemon Cream.

"Take the juice of four large lemons, half a pint of water, a pound of double refined sugar beaten fine, the whites of seven eggs and the yolk of one beaten very well; mix altogether, strain it, set it on a gentle fire, stirring it all the while and skim it clean, put into it the peal of one lemon, when it is very hot, but not to boil; take out the lemon peal and pour it into china dishes."


Let us begin, shall we? 


Pour a little over 3 cups of all purpose flour into your desired mixing bowl. 
Add two cups of white or raw sugar and mix 
Once mixed add in 10 whole eggs and combine 


Pour in one gill (half a cup) of rose water. Rose water can easily be sourced from grocers providing international foods, especially foods from the Middle East


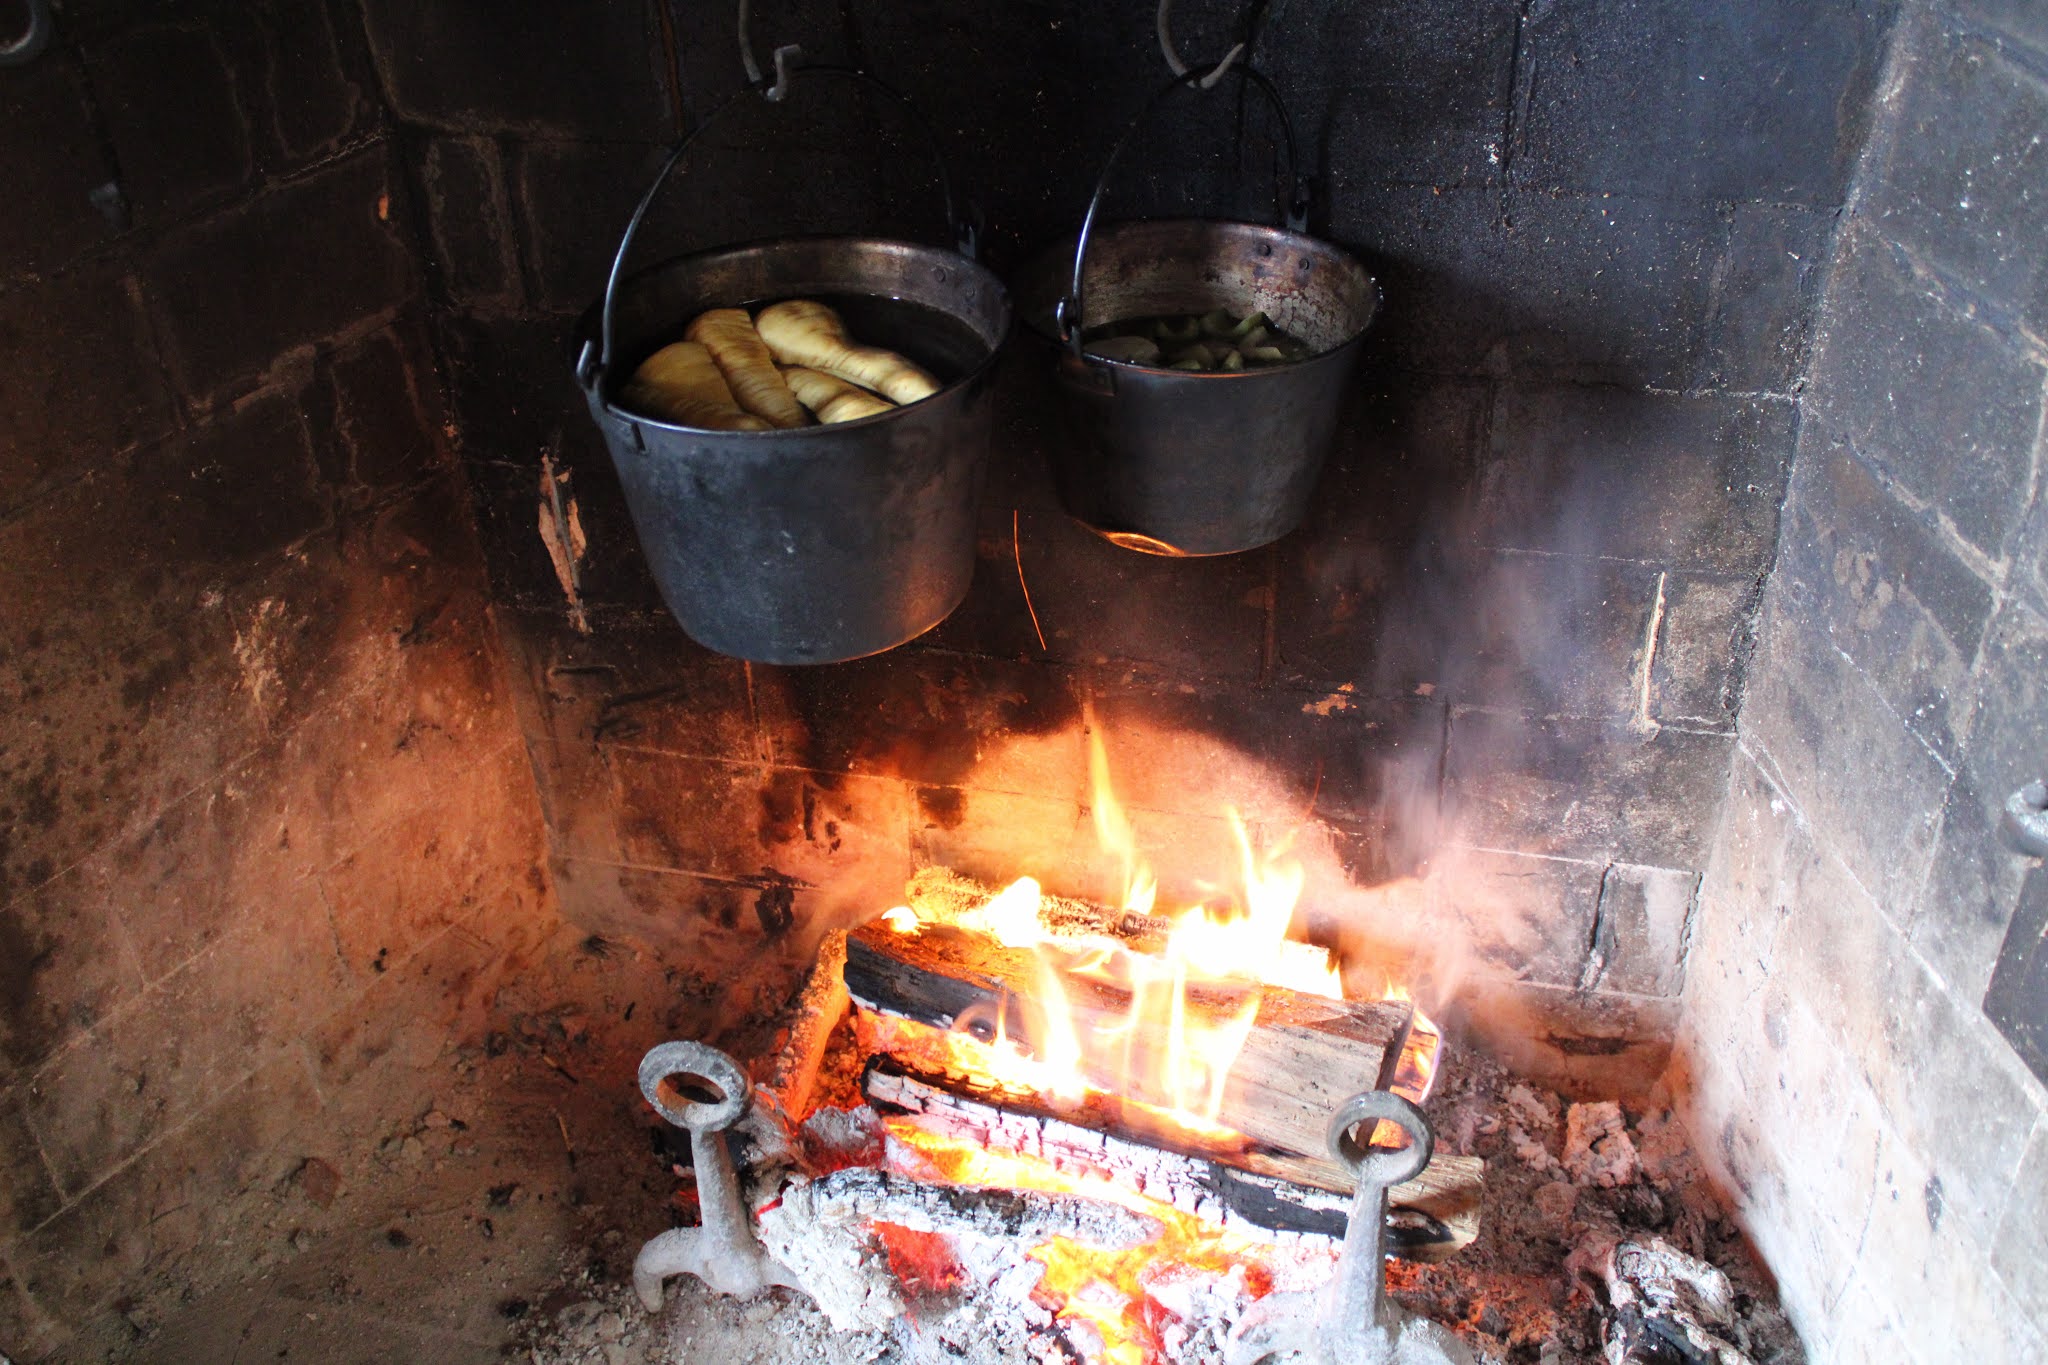
Finally, we need to include one pound of butter. For the sake of ease I melted the butter over my hearth. I strongly recommend melting your butter before adding it to the batter. Over a healthy fire this should take no more than 15 minutes. 


Once your butter is a liquid add it to the batter and mix well. This is a rather runny batter. 

Pour this batter into the mold of your choice then tap the mold 3x to disrupt any air bubbles. You are now ready to bake your pound cake. According to the recipe this cake should be complete in 15 minutes in even the slowest of ovens however in my experience it took much longer. In a dutch oven it took me around an hour. Your baking times will vary depending on how hot your fire is and the abundance of hot coals. Stick a fork in the cake once you suspect it to be done. If it comes out clean it is done. 


  Because this cake is so rich when you first remove it from your oven you'll find that there is still a layer of butter bubbling on the surface. Do not be alarmed. Once the cake meets cool air this fluid shall quickly absorb. 


Only five minutes has passed and the excess butter has been absorbed. Again, this is a very rich cake.


Now that that is cooling let us focus on our lemon icing 


Take the juice from 4 lemons. Remove all seeds then add in half a cup of water, 2 cups of white sugar, and the whites of 7 eggs with 1 yolk. 


Once you have added all of your ingredients your icing should look similar to this. If you desire a more intense lemon flavor grate in the rind of one lemon. It certainly does not look like icing yet! This is why we need heat. Put your mixture into a small pan and cook on medium heat for 10 minutes. Be sure that this mixture does not boil. 


In the meantime, flip your cake from its tin. 


After your icing has been over the fire for 10 minutes remove and let sit for a further 10 minutes. If you chose to add the rind of lemon you must remove it before serving, lest your icing be bitter. Now you may spread it on your cake with a spoon. Enjoy! 


If you are unable to view the above YT video click this link: 


Ingredients
 
Pound cake: 

all-purpose flour: a little over 3 cups 
white or raw sugar: 2 cups 
eggs: 10 eggs 
butter: one pound (usually equals to 4 sticks) 
rose water: half of one cup 

Firstly combine your dry ingredients of flour and sugar. Next, mix in 10 whole eggs, half a cup of rose water and finally one pound of melted butter. Bake in a 320 degree oven for one hour give or take 10 minutes. 


Lemon icing: 

Lemons: 4 large 
White sugar: 2 cups 
Water: half a cup
eggs: 8 eggs 

Juice four large lemons and remove the seeds from this juice. Stir in 2 cups of white sugar, a splash of water followed by the whites of seven eggs and the yolk of one. If you wish to have a more intense lemon flavor grate the skin of one lemon. Once combined, pour into a small pan and cook over medium heat for 10 minutes. Be sure that this mixture does not boil. Instead we want it to steam. Once the 10 minutes have passed remove from your heat and let sit for a further 10 minutes before pouring onto your cake. If you chose to add the skin of one lemon be sure to remove this before serving as it will be bitter. If you desire for this frosting to be thicker you may set it in a cold place for half an hour. 
 

Dough Nuts aka Donuts From 1803

  Why do modern donuts have a circle in the center while these do not? Ring shaped donuts did not hit the market until the 1840s. A problem ...